Introduction
A Google Cloud Storage bucket is a great way to store static assets for your website.
However, it doesn't support custom domains out of the box with HTTPS without setting up an external load balancer Google Cloud Storage Hosting but fortunately Qloaked can help make this a breeze.
This guide will show you how to set up Qloaked to proxy requests to your bucket and add a custom domain.
Create a Google Cloud Storage bucket
Login to the Google Cloud Console (https://console.cloud.google.com/)
Navigates to the GCS buckets section
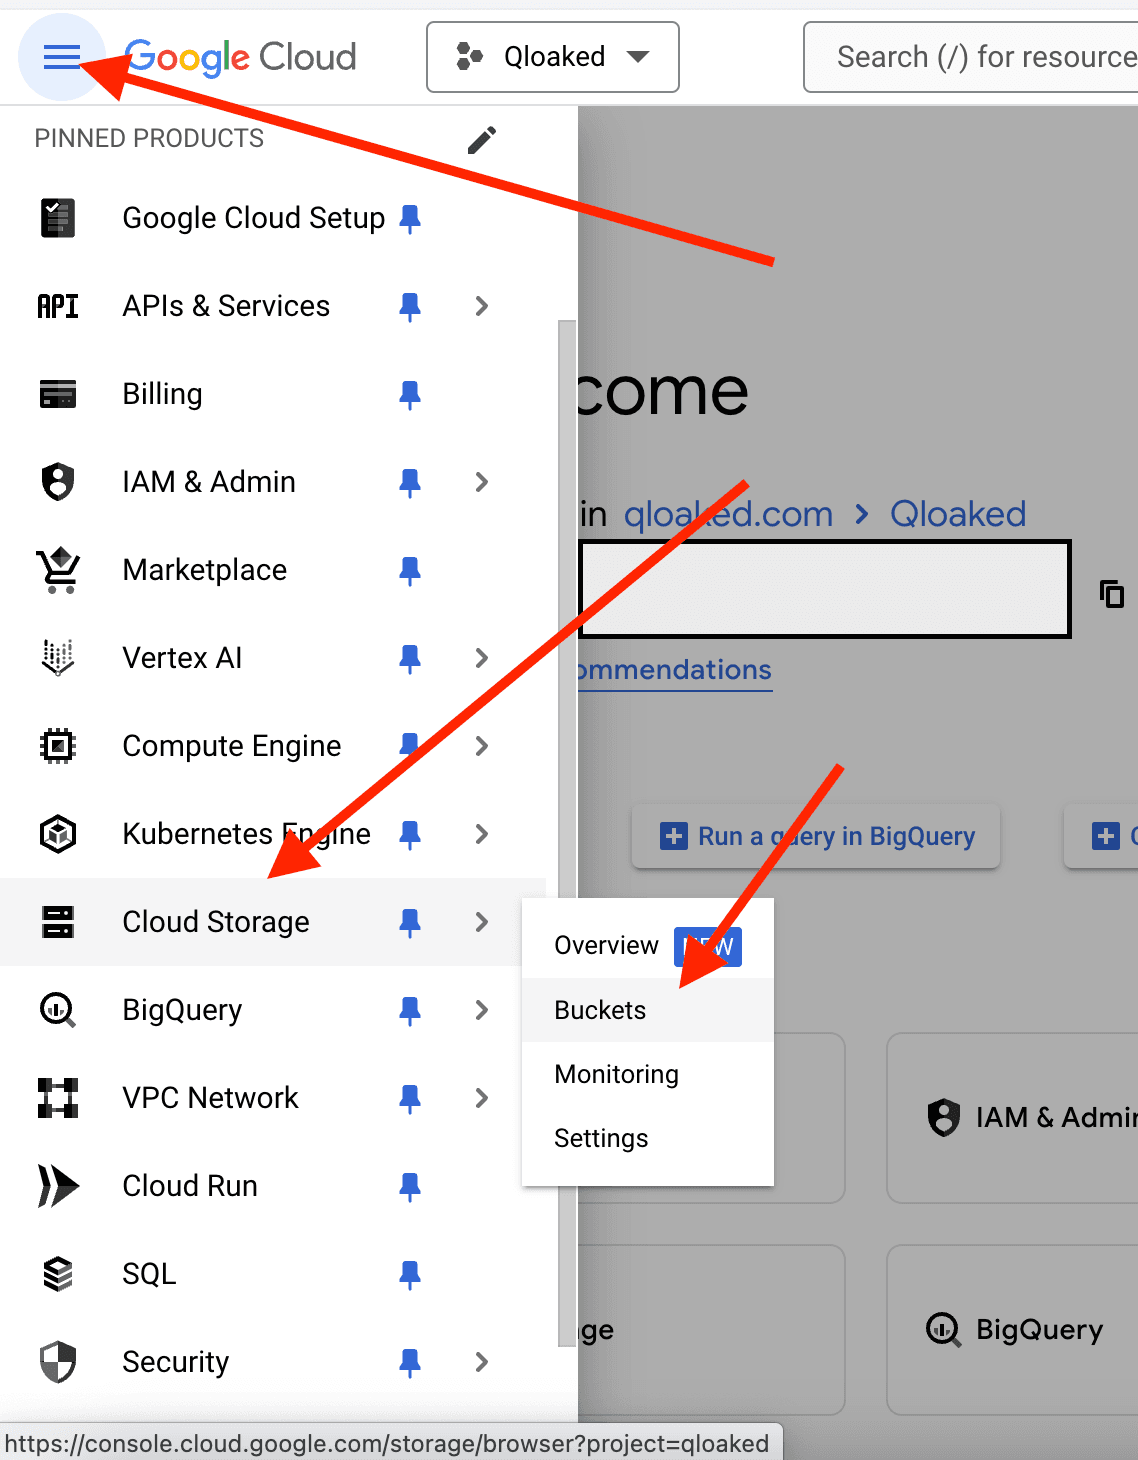
Click the button to create a new bucket

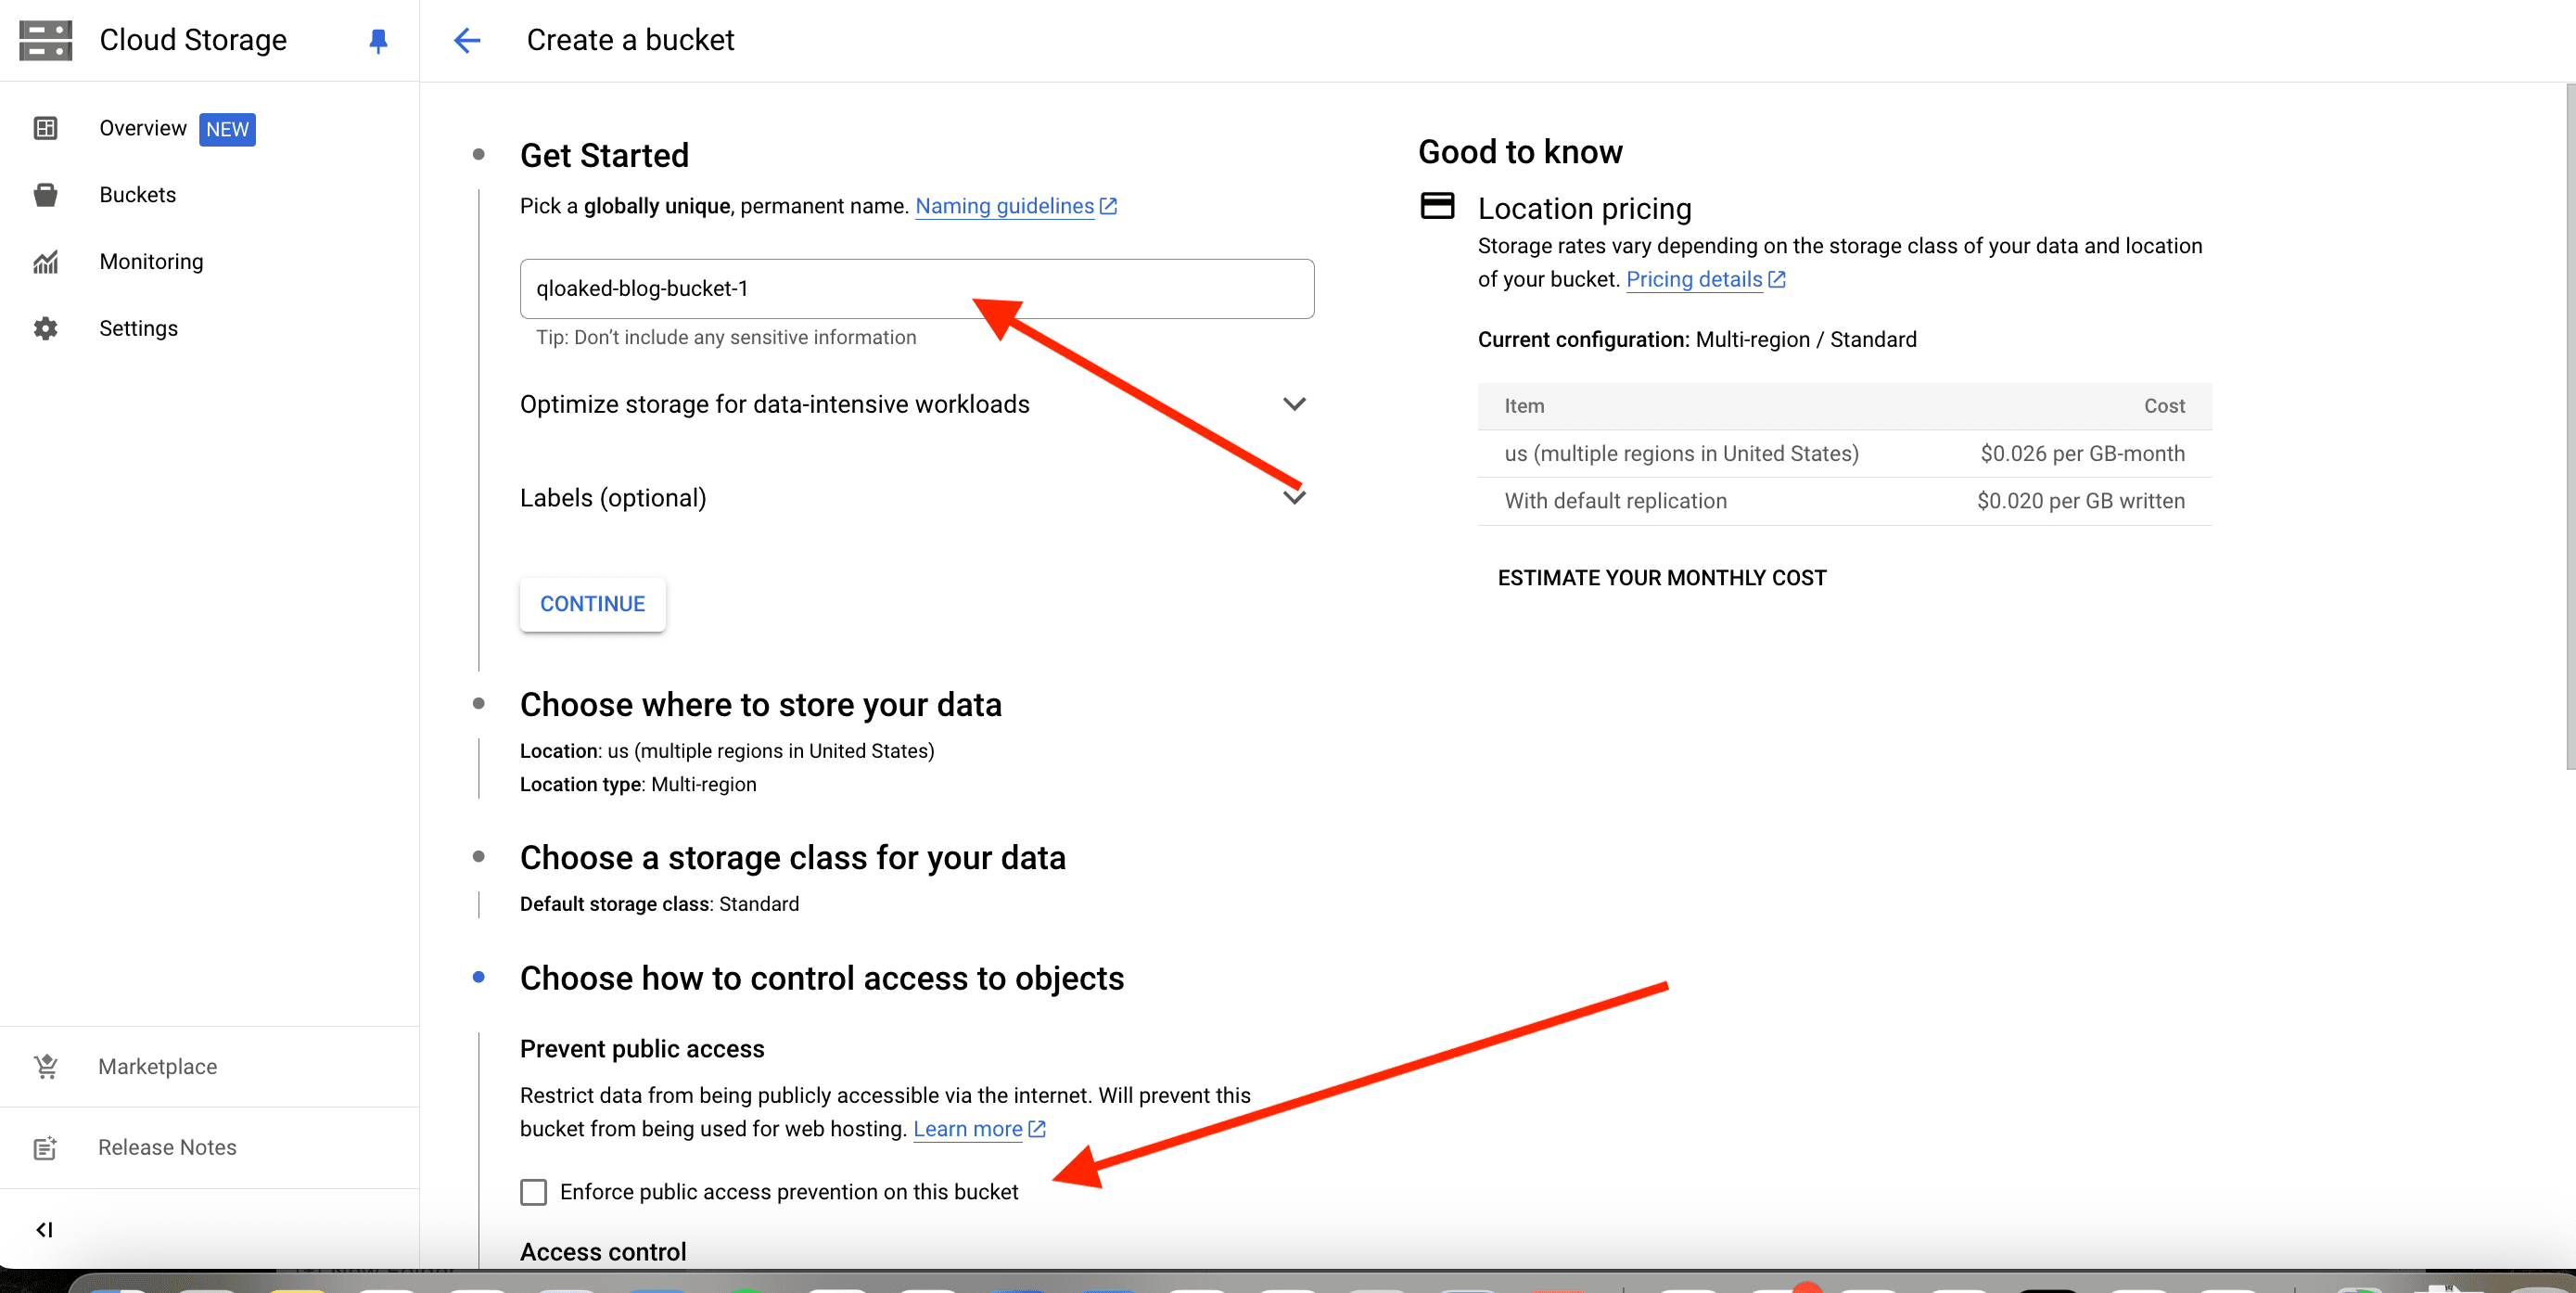
Follow the setup wizard to create a new bucket and make sure to untick "Enforce public access prevention on this bucket"
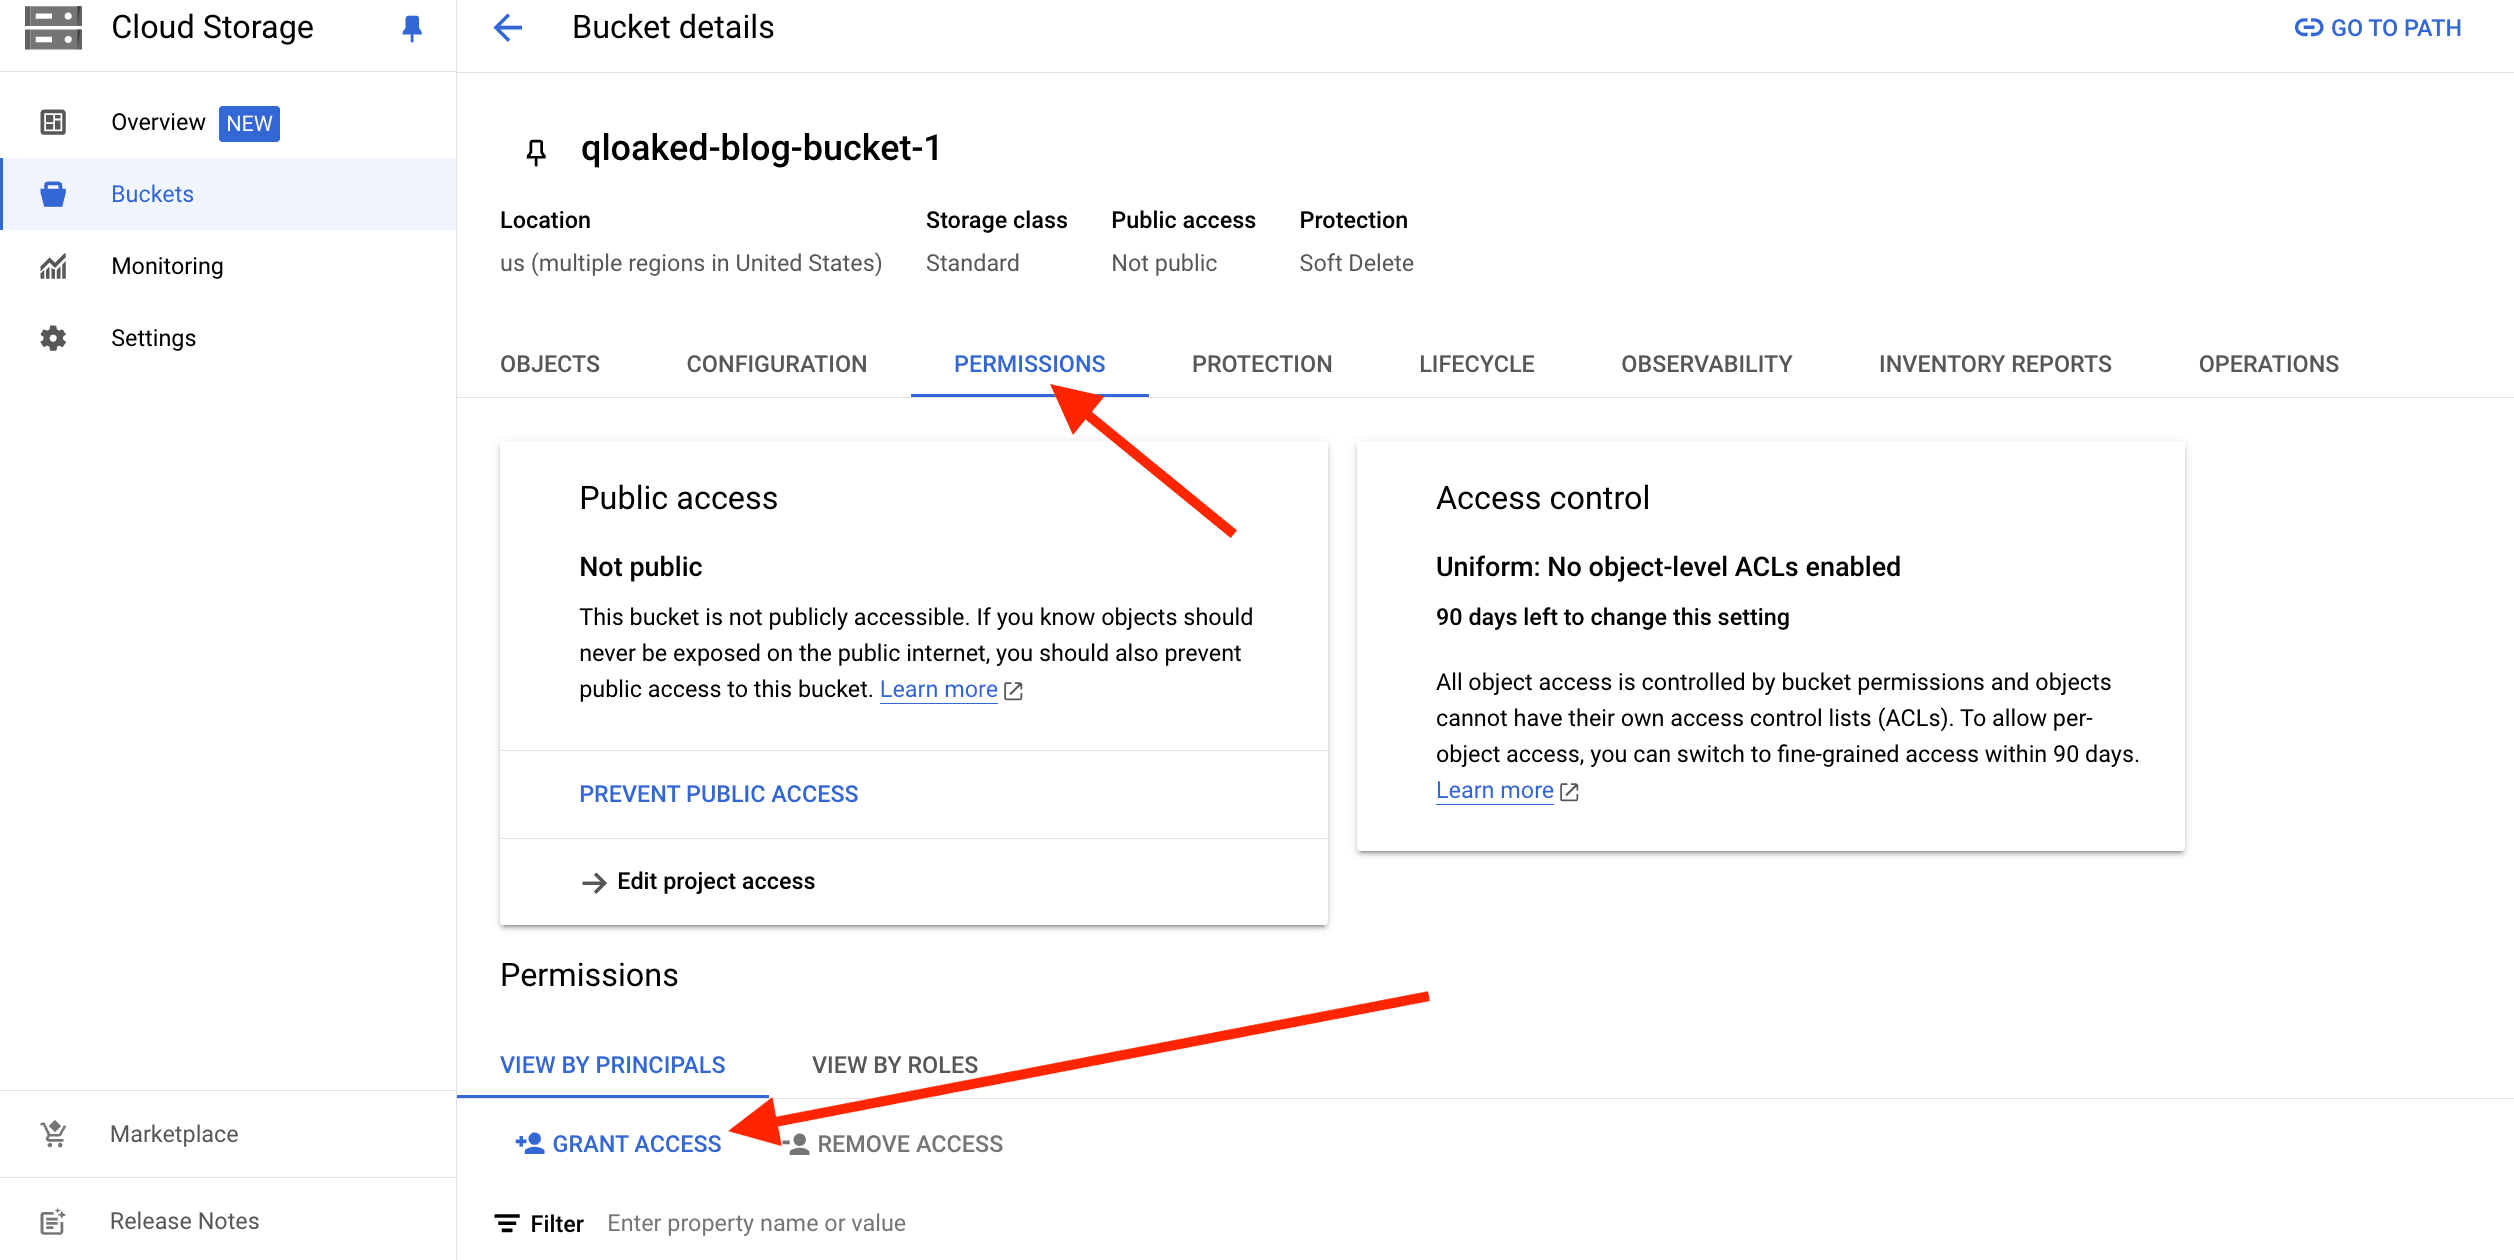
Now we need to enable static website hosting for the bucket by making its contents publicly accessible.
In the bucket settings, go to the permissions tab and click on the grant access button.
Now we need to give "allUsers" the Storage Object Viewer role.
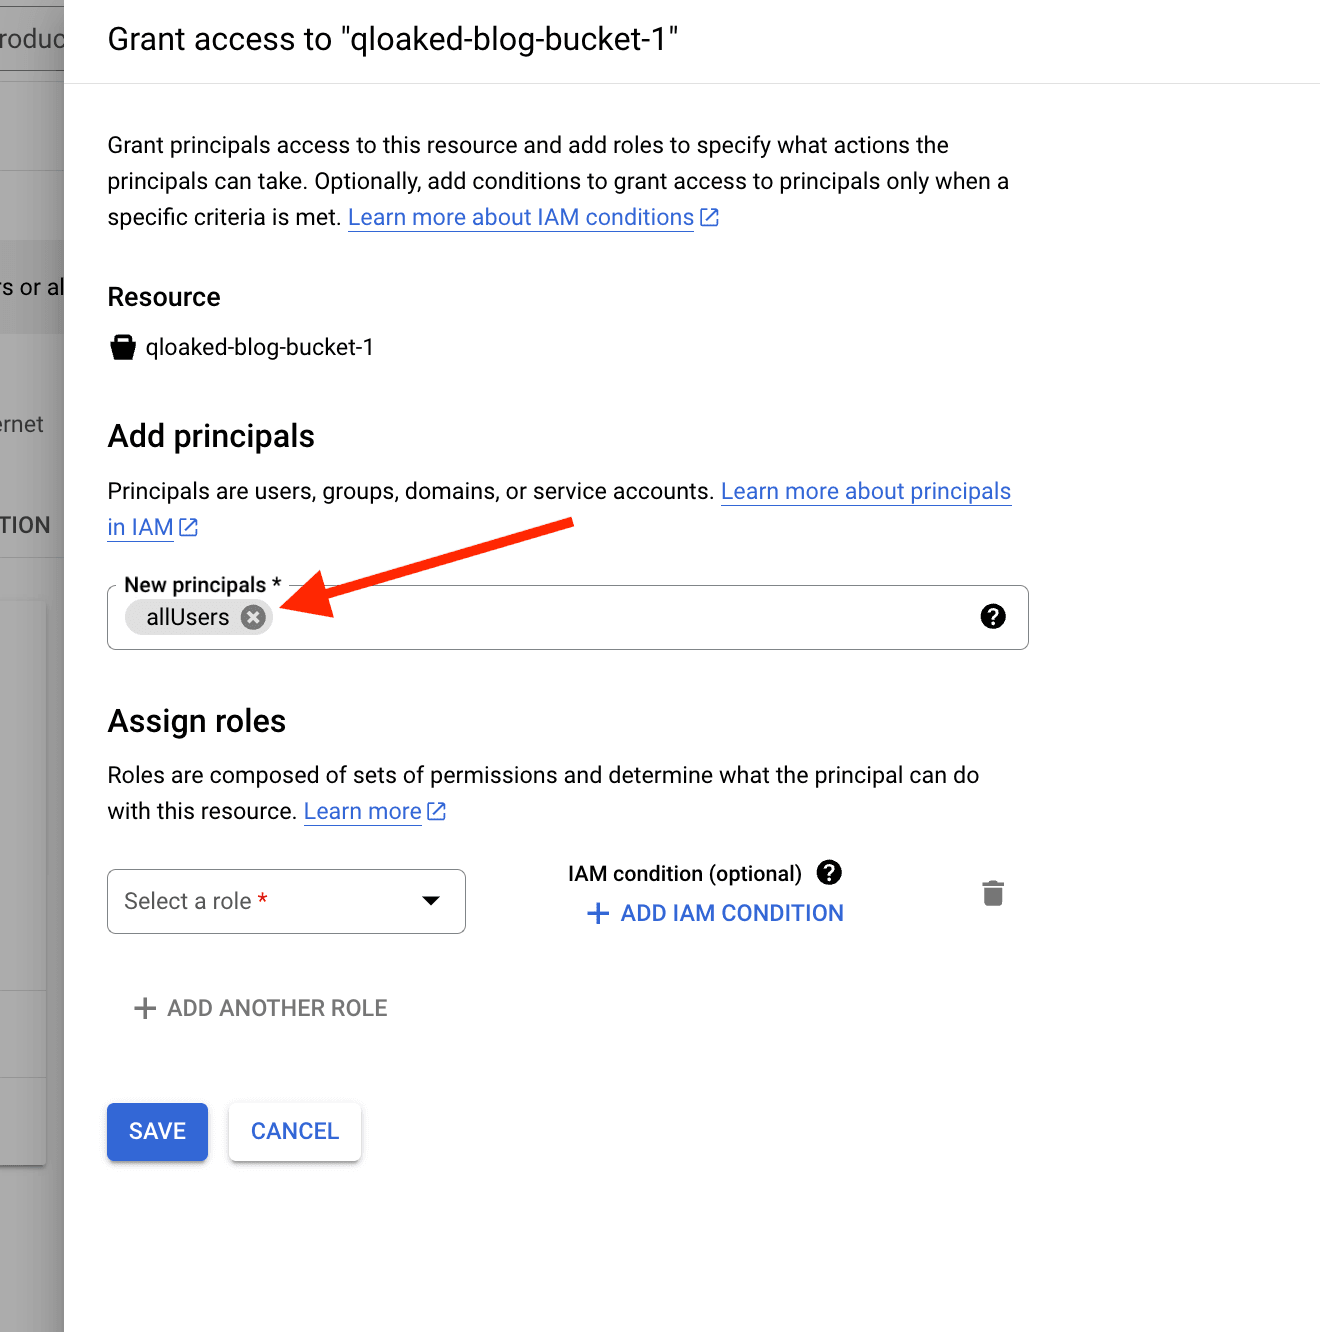

Now when you save that you'll get a popup asking you to confirm that you want to allow public access to the bucket.

Now you're all set to upload your static assets to the bucket and if you send someone a link they'll be able to access it.
Let's setup a custom domain now to use with this bucket. It could be any domain you own or a customers domain etc...
Setup your Qloaked application
Login to your Qloaked account here (Qloaked Login)
Click on the "Applications" menu drop down and then click the "Create Application" button.

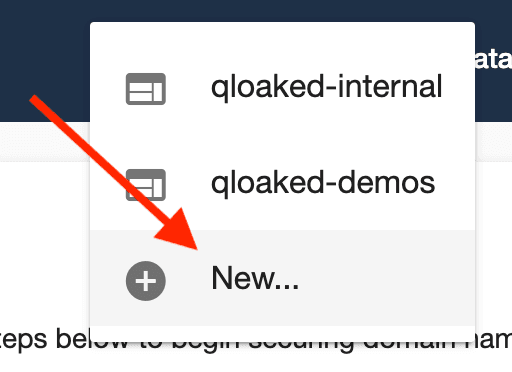
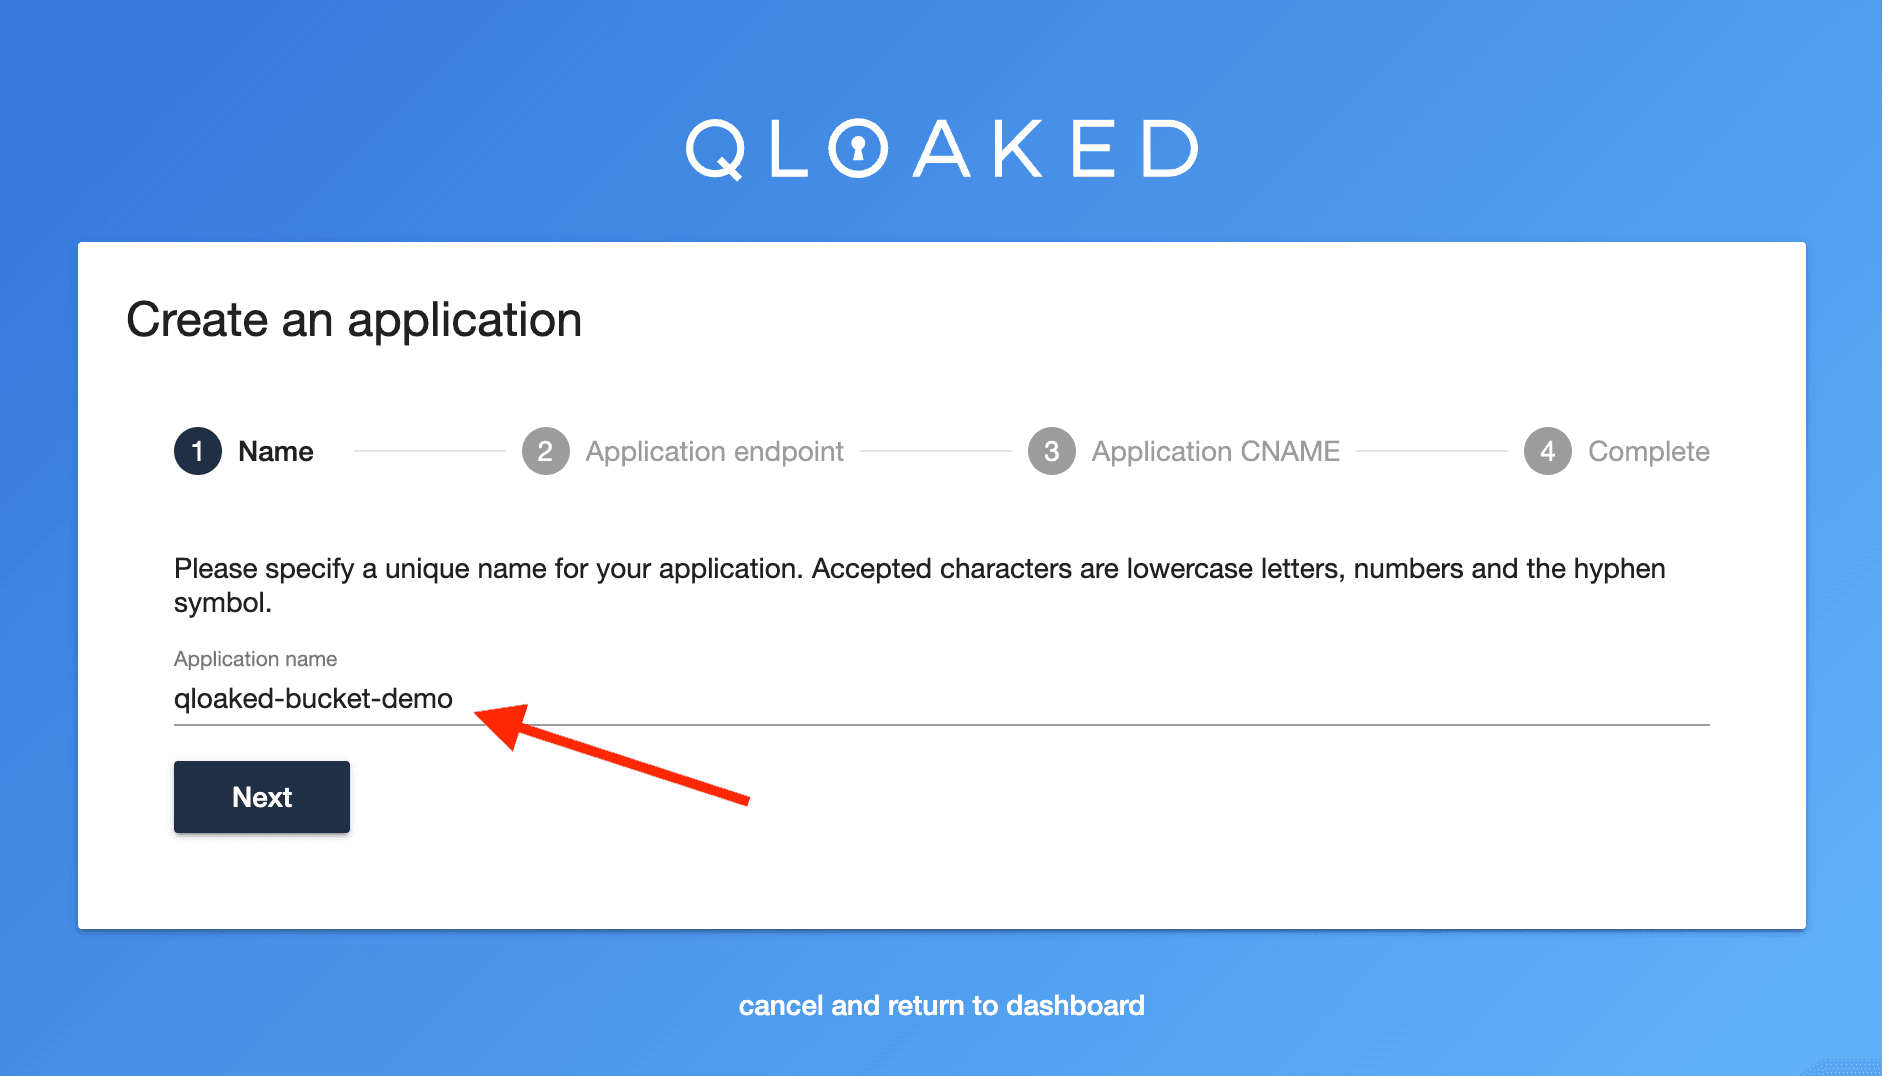
This will then start the application creation wizard. In our example the application is the GCS bucket.
Now set GCS to be the application endpoint (https://storage.googleapis.com) and expand the "Advanced" section to set the host header to the bucket domain (storage.googleapis.com).
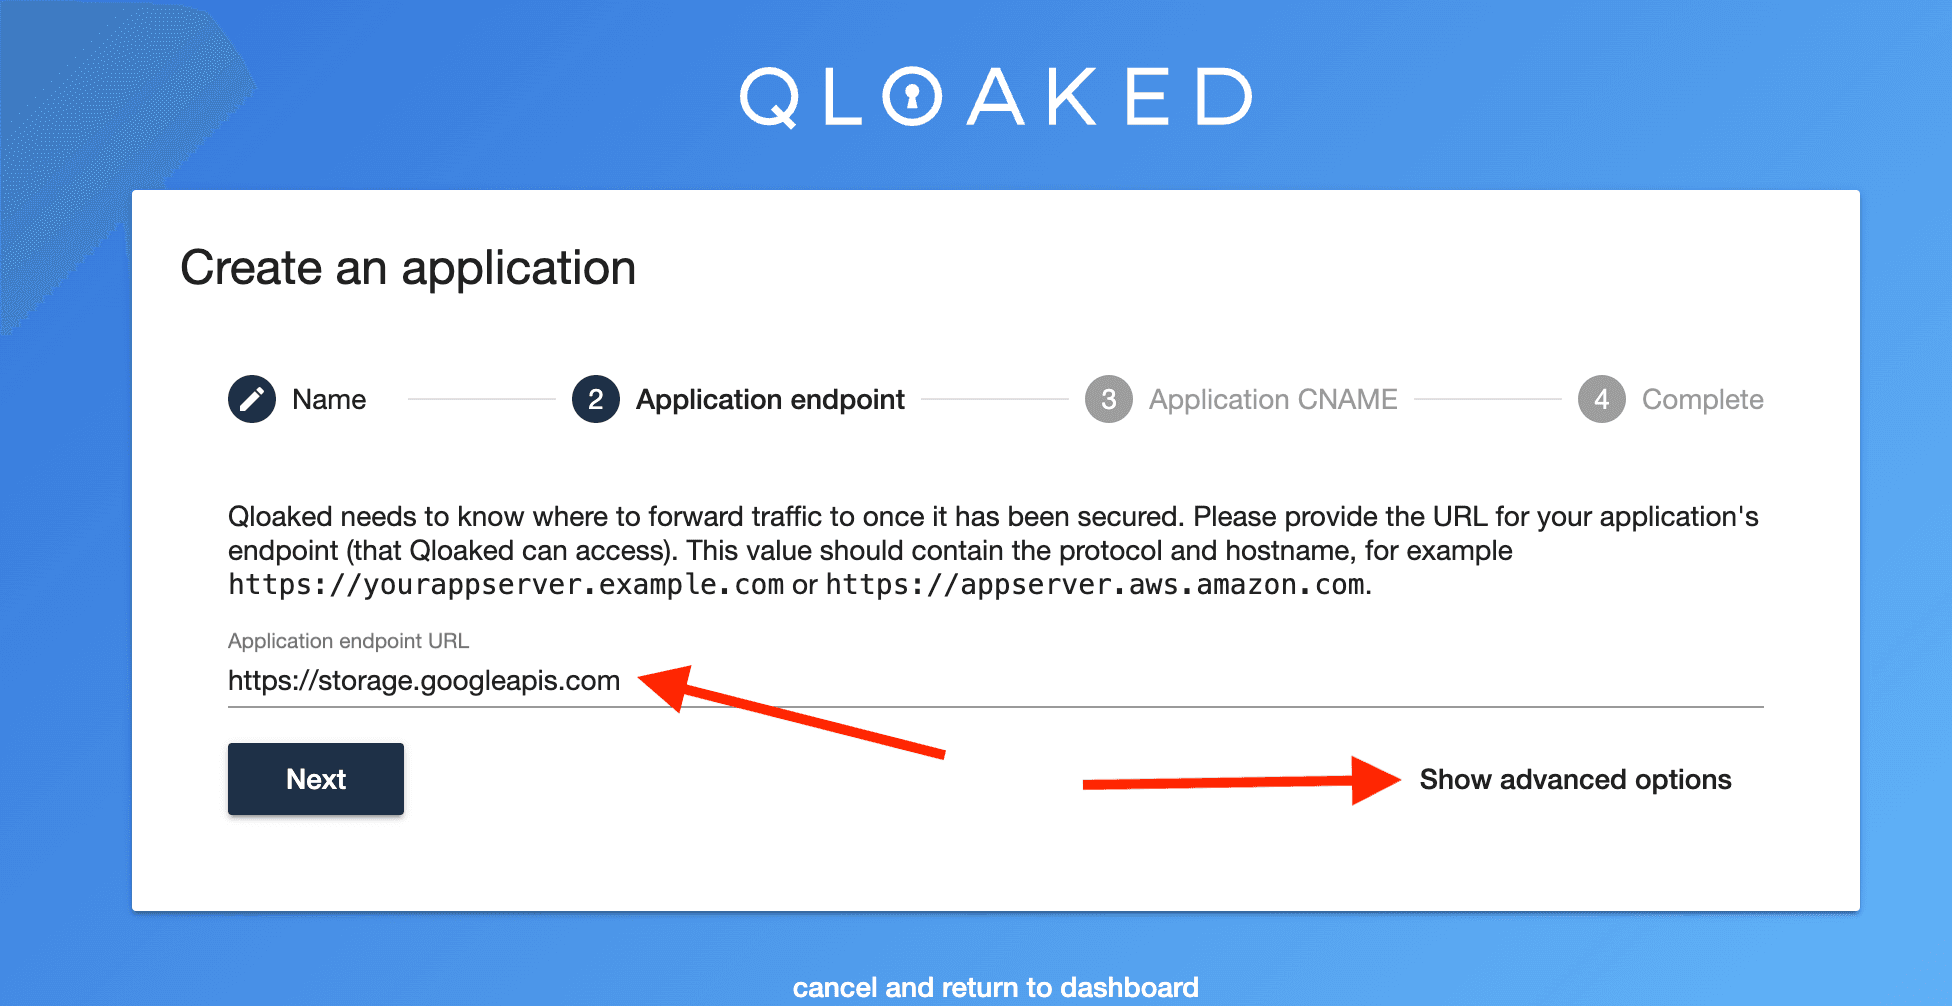
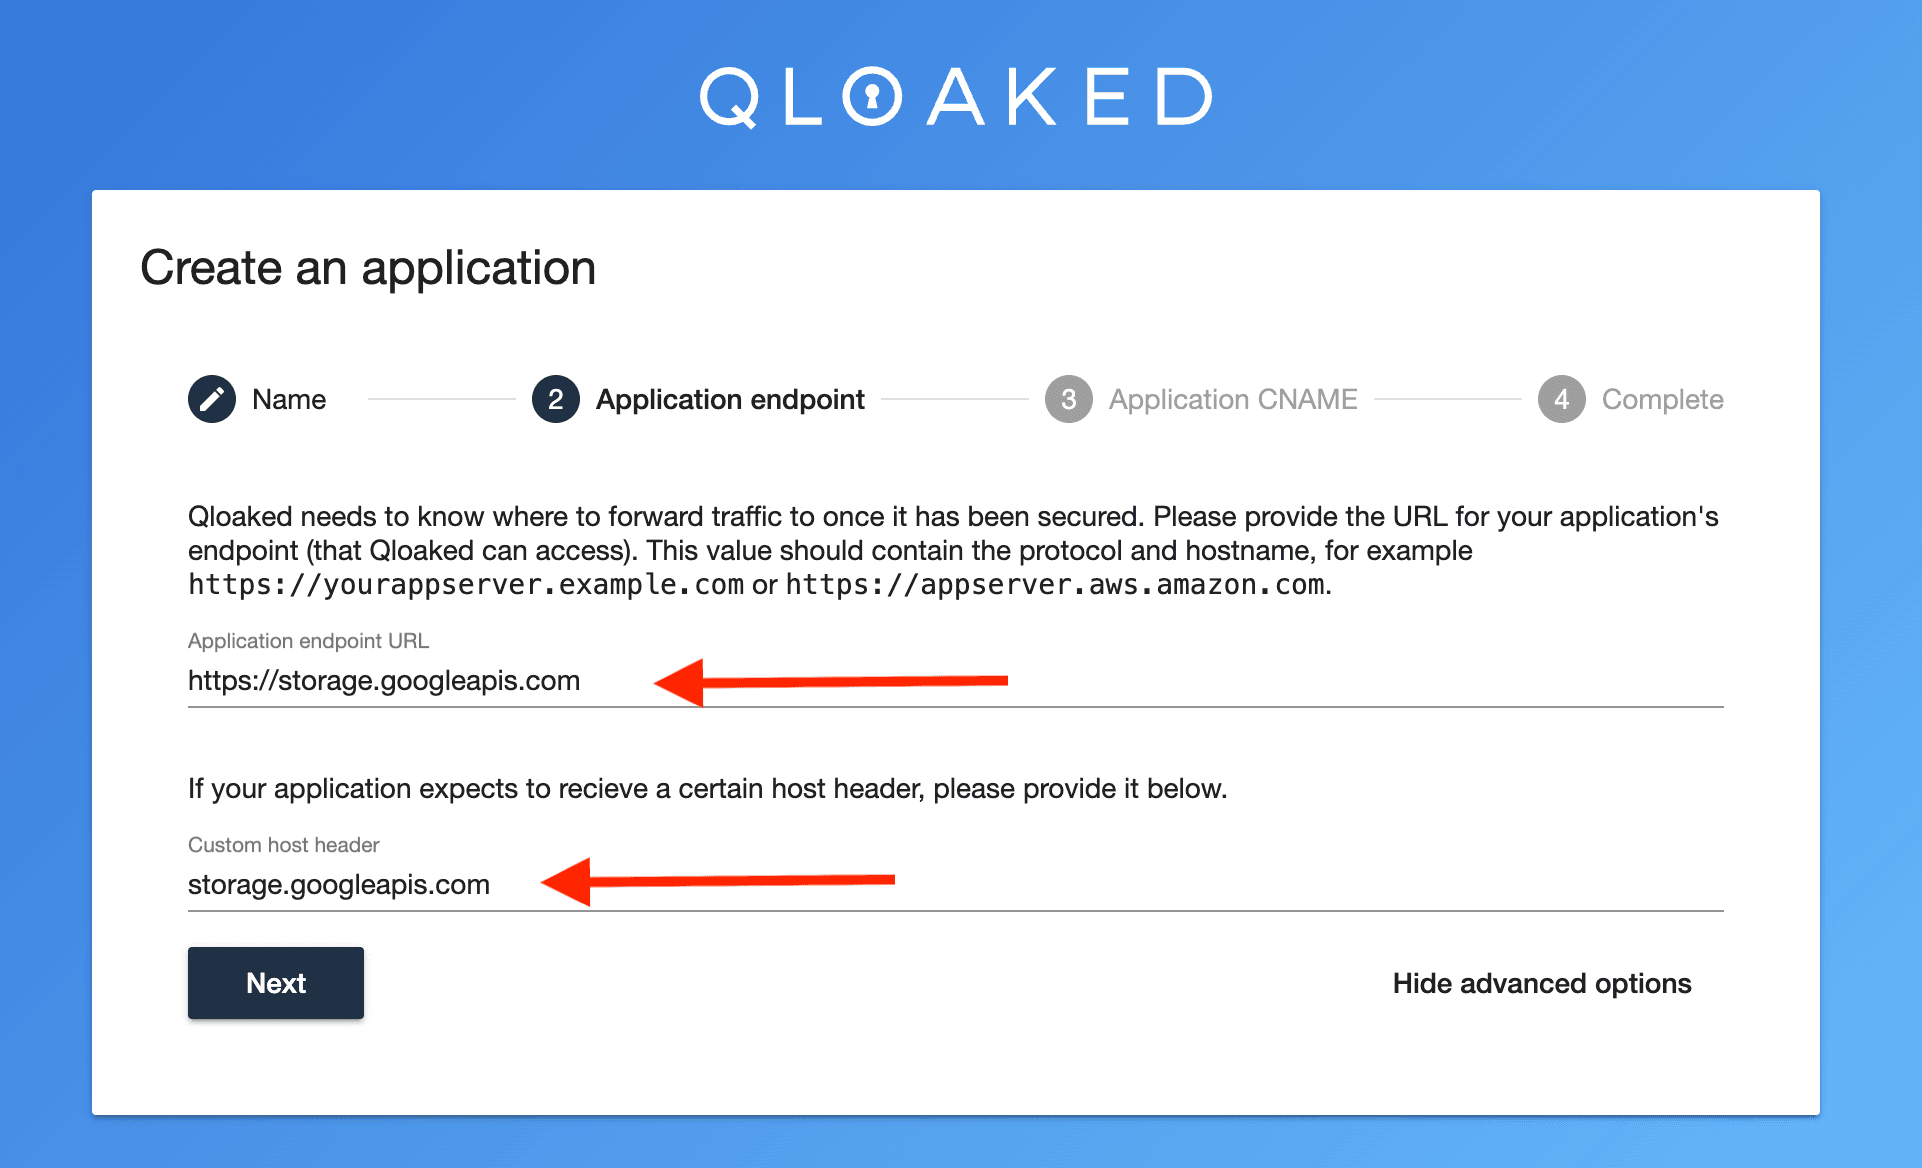
Now any requests coming into this application will look like requests to the bucket domain to Google.
Set an optional application CNAME - This is what you'll provide to your customers to point to this application.
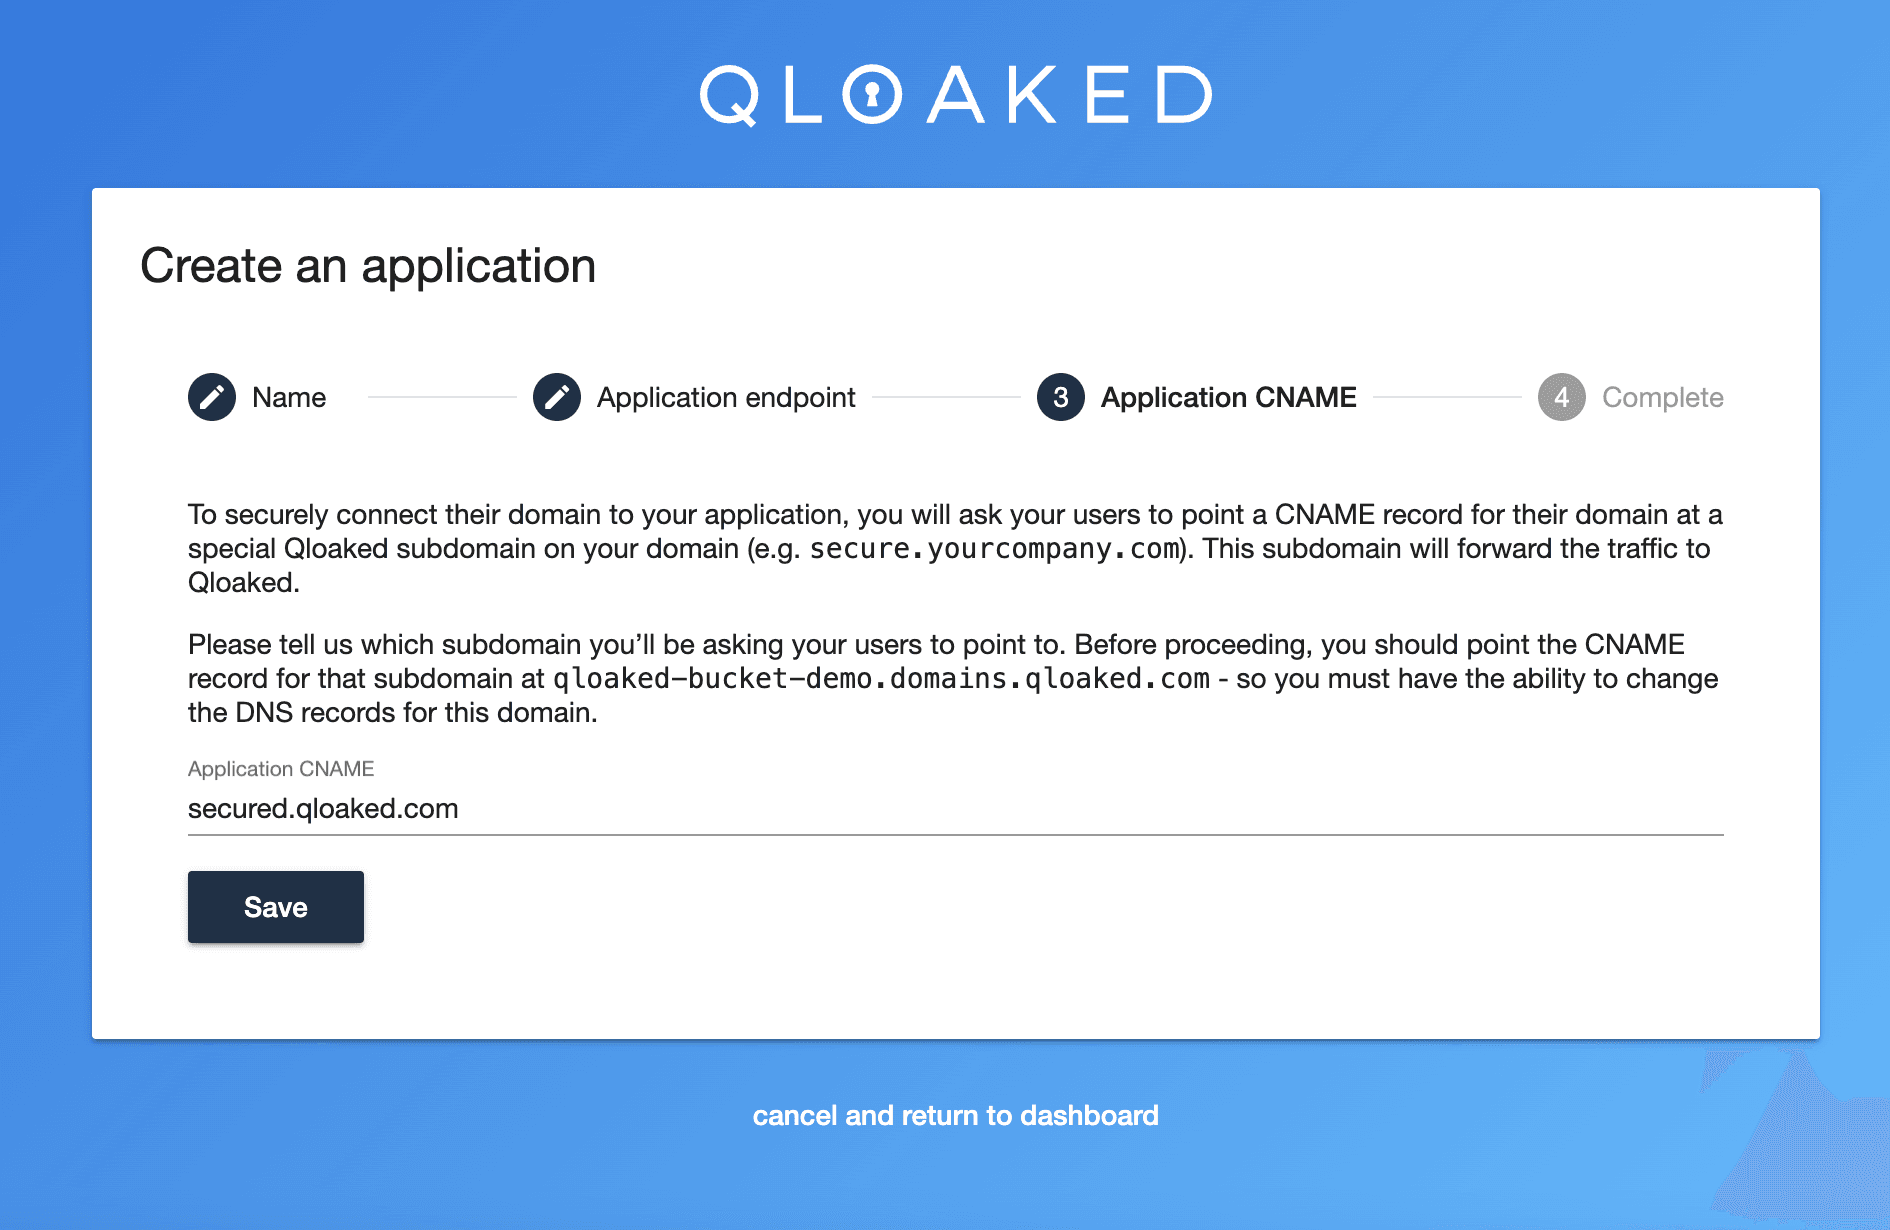
Click the "Save" button to create the application.
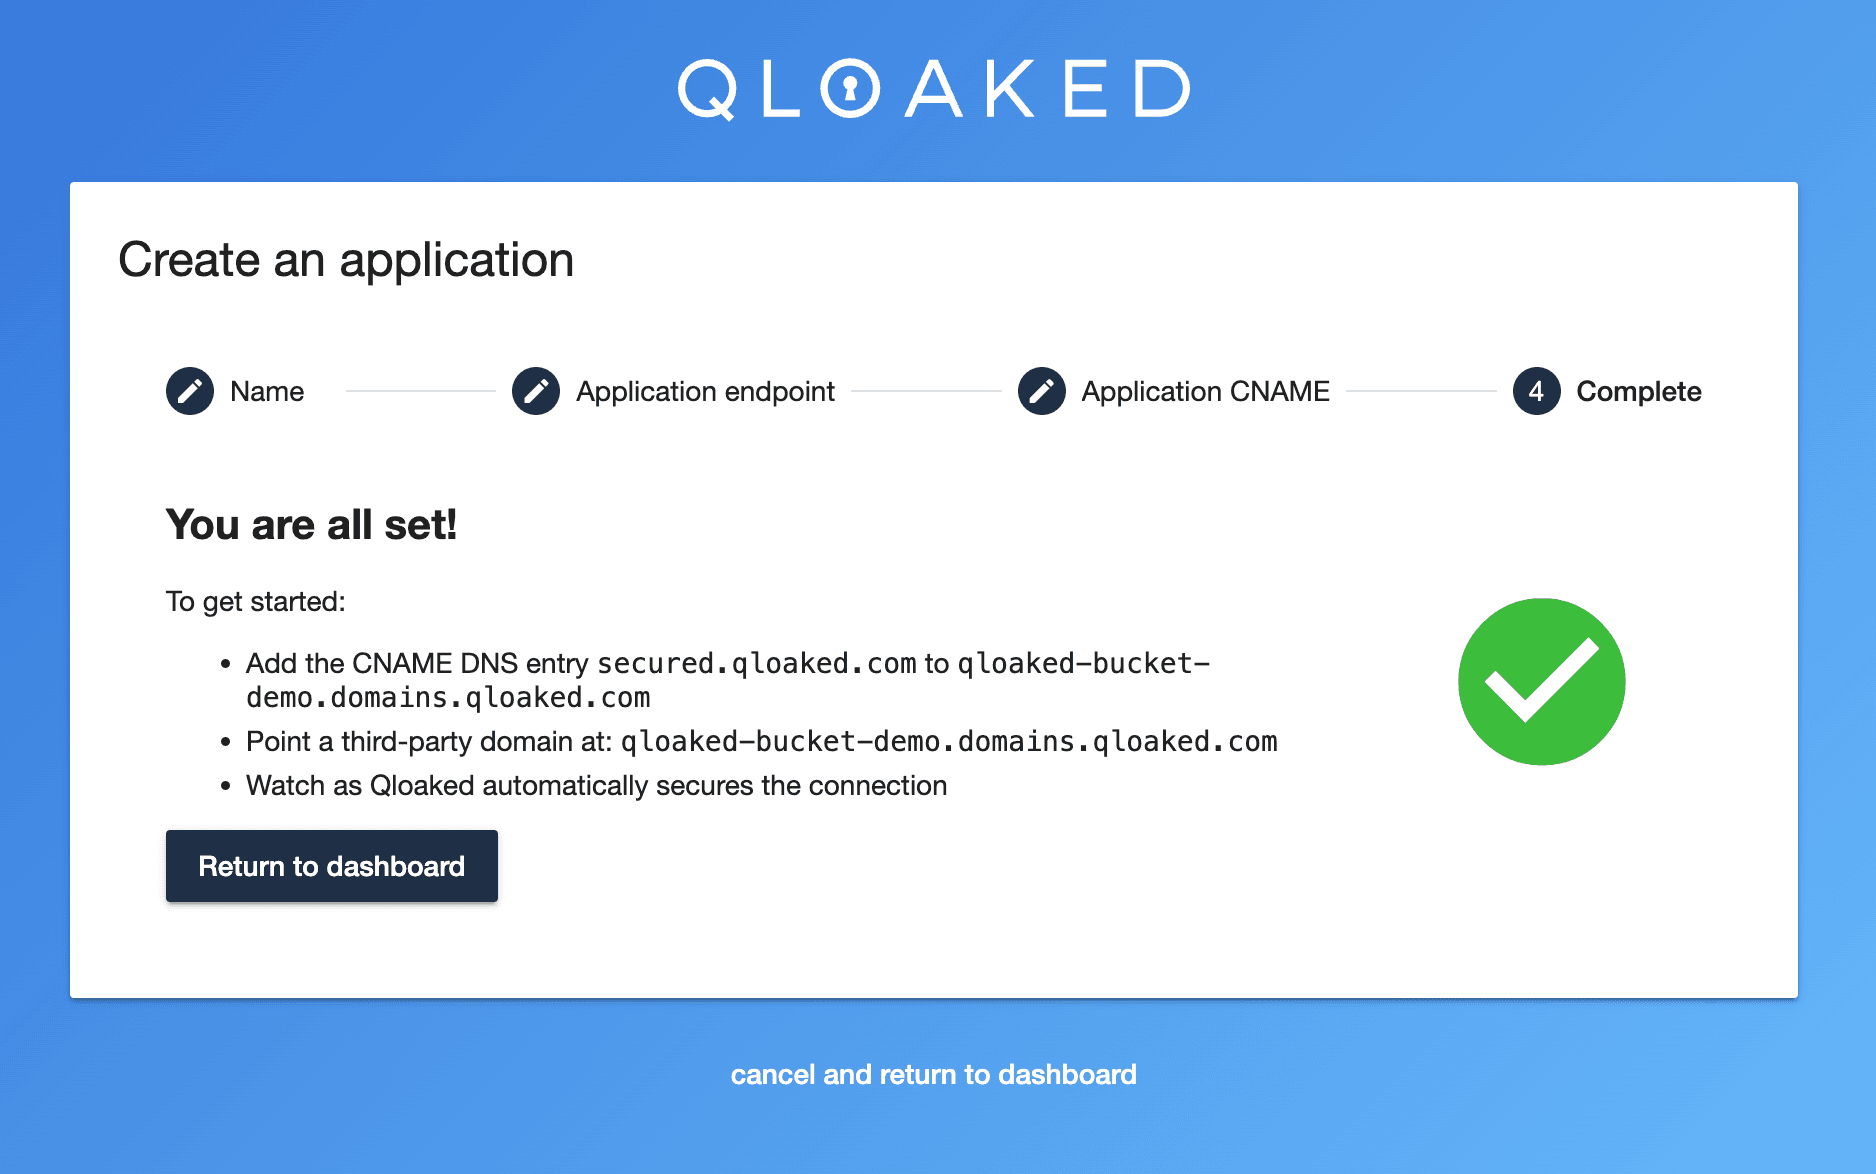
You can now point your custom domain to either the application CNAME or the application-name.domains.qloaked.com.
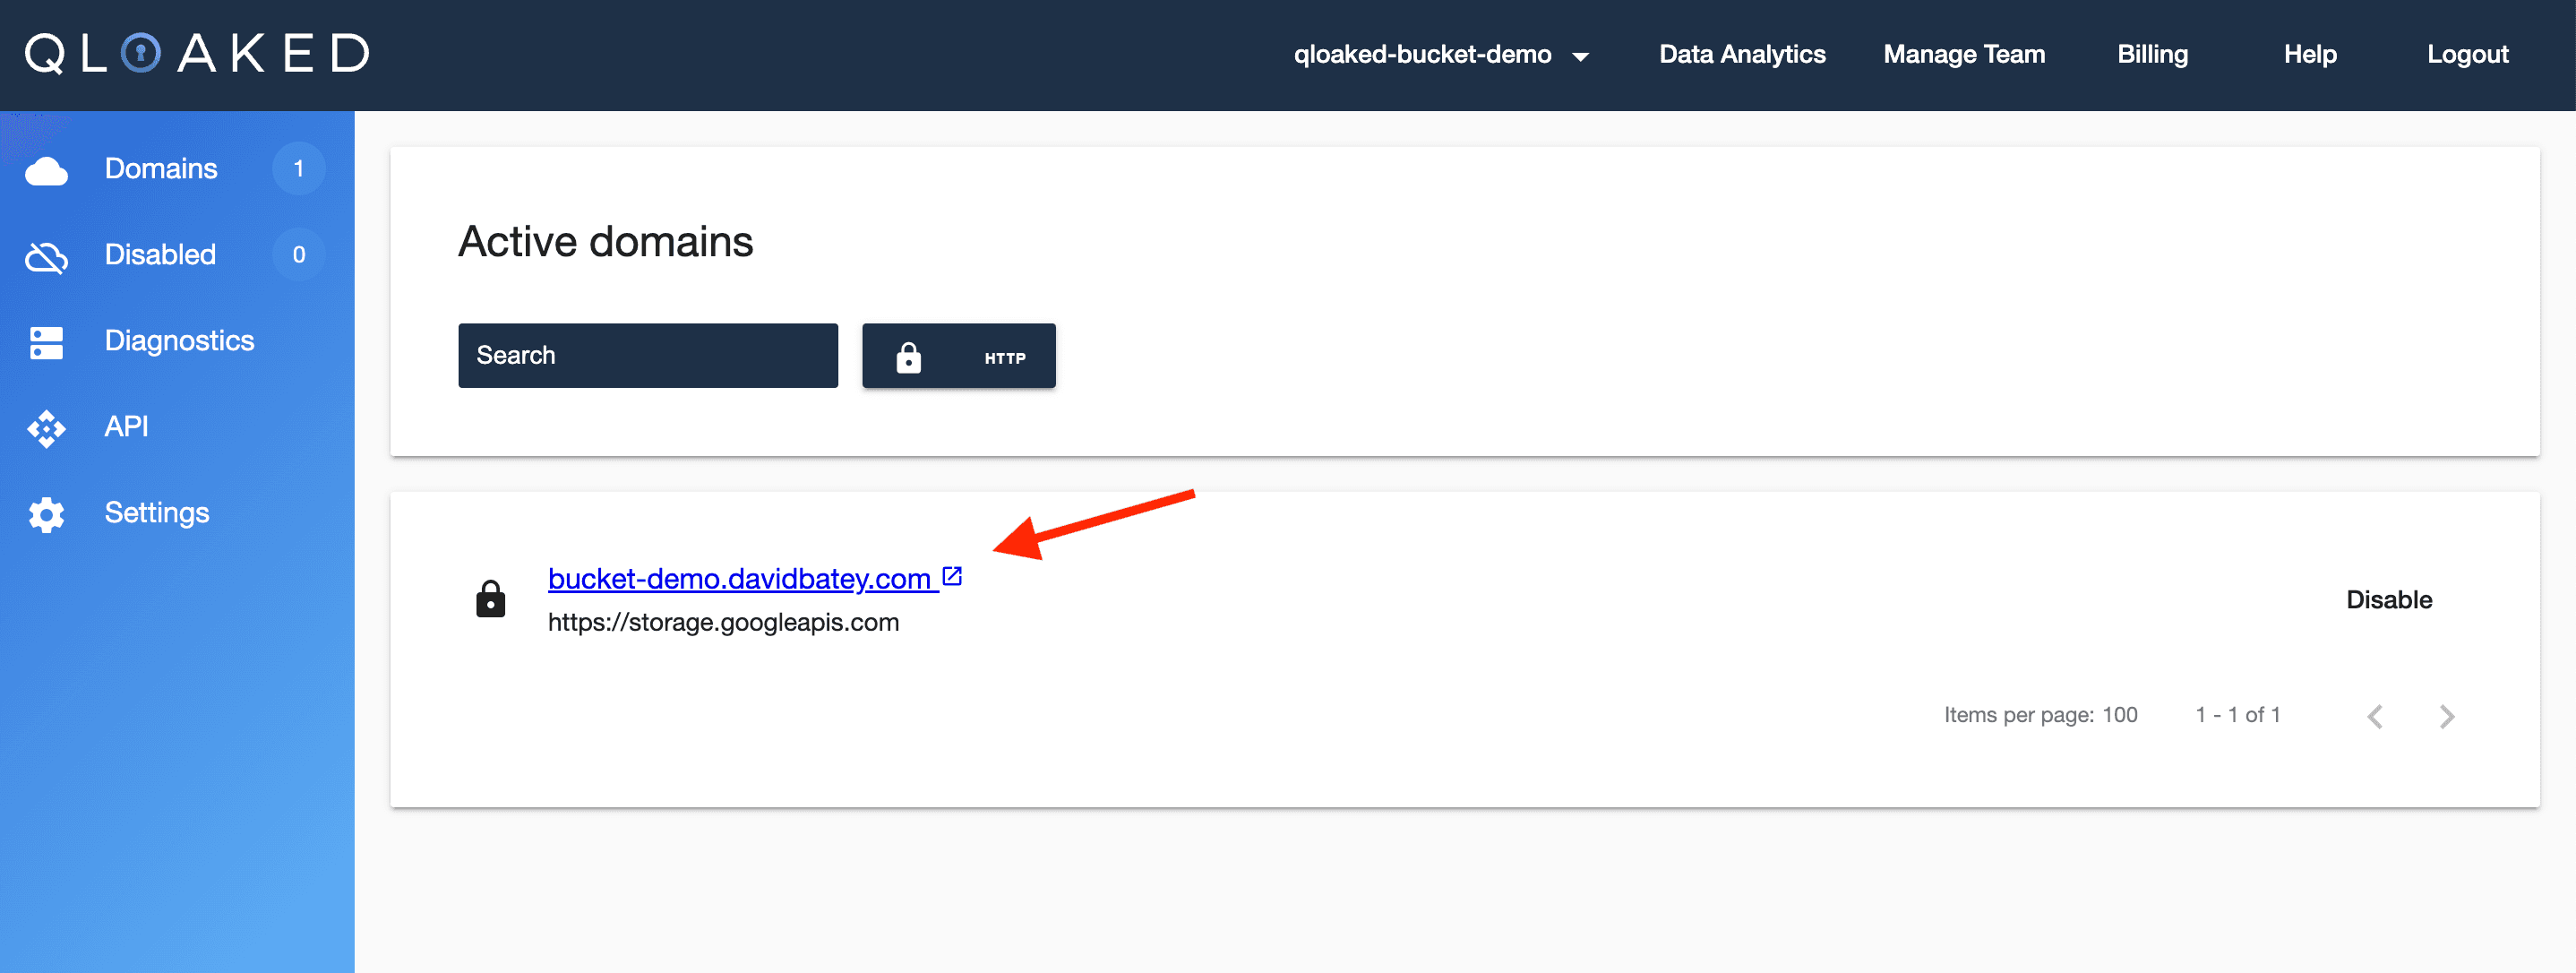
Now if you visit your new domain e.g. www.newdomain.com/bucket-name you will see the buckets contents and secured on https and you will see the new domain in your Qloaked account.
